 Posted by
 Why this matters — the problem we’re solving
Greenhouse film that tears, traps water, or flaps loose costs seedlings, time, and money. You can buy the best greenhouse frame, but if the cover fails you’ll lose microclimate control and face heat loss, pest entry, and uneven crop starts. Use the right material and install it with intent—start by choosing durable rolls like agriculture plastic sheets and then stop avoidable mistakes before they cascade into crop failure. This checklist targets the real failures you see every season and gives a direct path to fixing them.
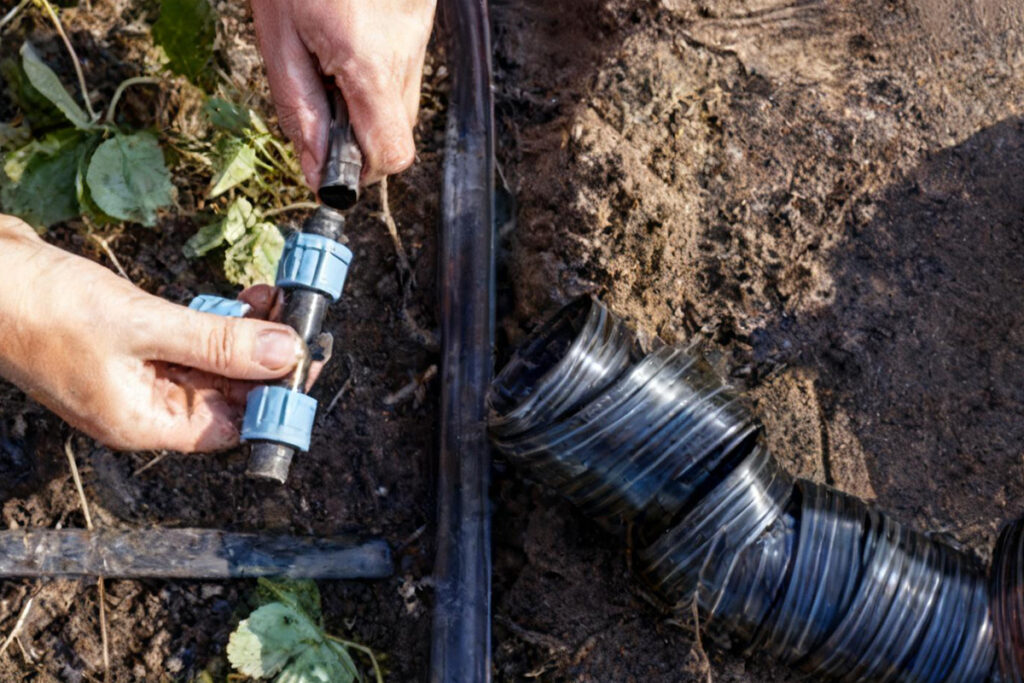
Pre-install checklist: concrete prep steps
Survey the site for drainage and wind exposure; mark anchor points at consistent intervals; measure the frame twice and cut film once; check the film for factory defects under light before you unroll. Confirm your daylight needs and ventilation plan. If condensation is likely, plan cross-venting and tensioning to avoid water pooling. These steps halt the recurring causes of early film failure.
Tools, materials, and specs that matter
Bring a 6–8 m tape, chalk line, neoprene gloves, ratchet straps, UV-resistant tape, edge battens, weeding knife, cordless heat sealer (for overlaps), and properly sized anchors. Use film rated for UV exposure and the local climate; thicker isn’t always better—choose the right tensile strength and elongation. Document batch numbers and keep small spares for quick repairs.
Step-by-step installation checklist
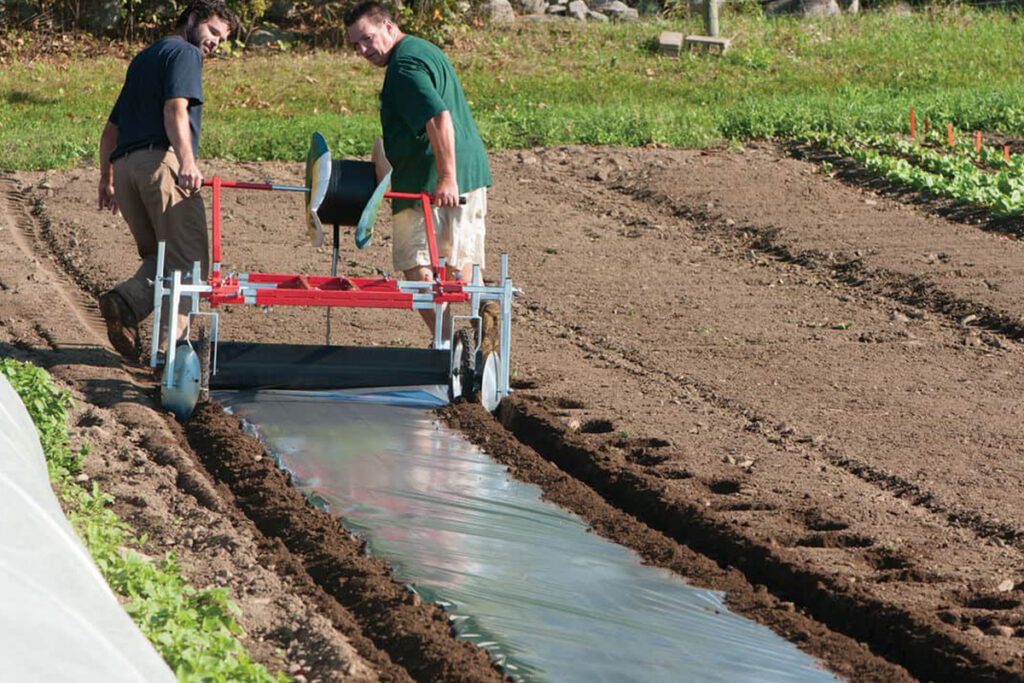
1) Clear and level the frame base; remove sharp debris. 2) Lay film on a calm day; unwind with partners so the sheet doesn’t snag. 3) Align film centerline with the structure; allow 10–20 cm extra at edges for secure clamping. 4) Secure one side loosely, move to the opposite side, then tension progressively—avoid over-stretching. 5) Use battens or a tensioning rail to distribute load; seal overlaps with a heat sealer or approved tape. 6) Anchor skirt properly: bury or weigh down with continuous anchors to stop wind-driven undermining. 7) Install ventilation and shading devices after the film is tensioned to prevent localized stress. 8) Inspect seams and anchor points after 24 hours and then weekly for the first month.
Common pitfalls and how to fix them
Stretching film until it’s paper-thin invites tears; ease tension and add center supports. Overlapping without sealing lets wind suck under seams—use proper sealing tools and check temperature compatibility for adhesives. Skipping scaffolding or helpers leads to rushed mistakes; always use at least two installers for larger spans. Don’t ignore small punctures—spot-repair immediately with compatible tape and a patch to prevent tear propagation.
Experience, evidence, and the one real-world anchor
Field trials and commercial installs repeatedly show that attention to anchors and seam quality delivers the biggest returns. Lessons demonstrated at GreenTech Amsterdam—where professionals test propagation systems—underline the value of controlled propagation setups and proper film selection; practical demonstrations often feature the use of a seedling propagation tray to emphasize early-stage climate stability. I’ve seen the same failure modes across temperate commercial operations: weak edges, poor overlaps, and inadequate ventilation. Follow tested techniques and log outcomes to build reliable know-how.
Final synthesis: what success looks like
Fix the root problems—fit, anchor, tension, and seal—and the film stops being the bottleneck. A robust install keeps temperatures steady, cuts labor on repairs, and protects early growth stages. That practical reliability is the kind of everyday value growers expect from partners like HGDN, who supply materials and guidance that match real-world demands rather than neat theoretical promises.